
Cycling and Shooting (pics)


Back when I was in the Army I landed a coveted spot at the 55th Signal Company, Combat Camera (COMCAM). Until then, photography was just a "bleep" in my creative background. I owned an SLR but used it sparingly to shoot family snapshots. It really wasn't until then that I began to really appreciate photography and the lengths that photojournalists go through to get a shot just right.
Now, when I glance at the images in BIKE Magazine's photo annual, or any other photo publication, I have a greater appreciation for not only the final product, but for the effort that was made to capture that image. Photography is now a big part of my life; my work has been published in various websites and print publications around the world, and I regularly shoot and cover events for the Department of Defense Education Activity. You can see some of my work on my personal blog, frescova.com.
Today, with the advent of digital photography, and the advancement of sensor technology, it is becoming much easier for just about everyone to get high quality imagery with very affordable gear, including your iPhone, a point and shoot camera, or a Digital SLR (DSLR). Bellow are some tips I've learned over the years which have helped me get the best results when I go out to ride and shoot pictures on the trail or road, regardless of camera.
Shooting with any Camera
Chase Jarvis, a well known and respected commercial photographer, put it best a couple of years ago when he coined the phrase "The Best Camera Is The One That's With You." Ultimately, if you don't have a camera with you, you are simply not going to capture anything. No matter what camera you bring along for the ride you'll always want to make sure you follow these tips.
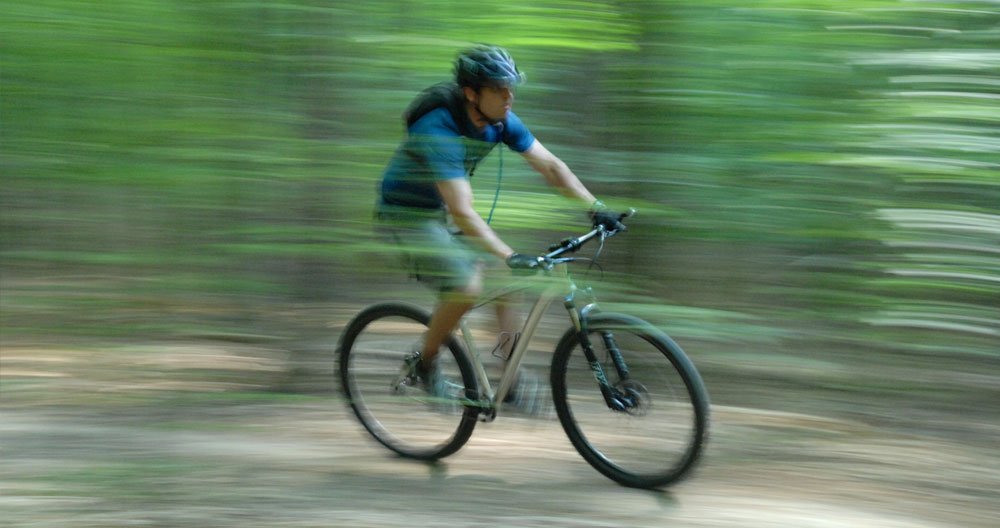
Think about composition - If you nail one thing down in your photos (other than exposure) it has to be composition: where your subjects (elements) appear on the image. Before shooting envision how you want that image to look; Work on filling the entire frame with your shot and practice the "rule of thirds" and learn how it relates to the "golden ratio." Once you understand these two concepts you'll start deconstructing others' images and began to understand why composition is so critical in making your images work. Also pay attention to your backgrounds - there's nothing worse than getting a great action shot only to see a telephone pole or tree sticking out behind the riders head.
Learn to work with available light - Always pay attention to how much light there is available and where that light is coming from. Shooting directly into the sun may get you some cool glare, or silhouette effects, but more often than not it will ruin your images. Asses where you are and determine how to best utilize that big bulb in the sky to light your scenes.
Learn to combine items 1 and 2 - Once you've mastered the art of composition, and learned to utilize available light you'll be well on your way to making great pictures, instead of just shooting snapshots.
Know your equipment - I'm incredibly anal about reading the manuals that come with all of the electronics I buy. Once you understand how your equipment works, and what the knobs do, you can then focus on the creative aspect of picture taking. Obviously, if you are using your iPhone or similar point and shoot camera, the complexity of what you can do with the camera is greatly diminished. But, as you step up to some of the more versatile point and shoot cameras and the full featured DSLR cameras you'll definitely want to know what your equipment can do for you. Ultimately, you must understand that it's the photographer that makes the difference, and not the camera. Yes, that new camera that retails for over $6k will make a difference, but if your composition is crap, no high dollar camera will help you in any way.

This is one of my favorite “Danger Panda (Selfie)” shots by my buddy Pete Beers; We were booking down the road when Pete pulled his S100 out and fired a burst of images; That’s me photo bombing him in the background.
Shooting with your phone
The biggest advantage to shooting with your phone is that it's there, in your pocket, always with you. And, you can share your images instantly. The latest version of the iPhone provides a great "burst" feature that allows you to shoot several frames in rapid succession, allowing more opportunity to "get the shot". You can also shoot HD video - in slow motion - and edit it on the phone right after you capture it. What the iPhone or other phone cameras lack, however, is the ability to manually control your settings so you're somewhat limited to what you can do with it. Still, the iPhone remains quite possibly the most popular digital camera out there right now, and the myriad of apps that allow you to stylize and share your photos make it even more enticing. I personally shoot with my iPhone the most, and have set-up an Instagram feed where I share some of the choice images I've snapped with it - along with others that have been processed through the phone's app to share them in Social Media.
Shooting with a Point and Shoot
Point and Shoot cameras have come a long way over the past few years. There are several models out on the market that rival full featured DSLRs and that produce some high quality photos, I carry a Canon S100 with me most of the time and come away with some nice images from it.Unlike your phone, point and shoot cameras are a little bulkier and not quite as easy to carry; A quality point and shoot can be easily strapped to your hydration bak shoulder strap or even your bike for quick access, even (not recommended) while riding. My buddy Pete (left) has made capturing "selflies" (or Danger Pandas as he so lovingly calls them) an absolute art and some of the images he's captured are astonishing.
Shooting with a DSLR
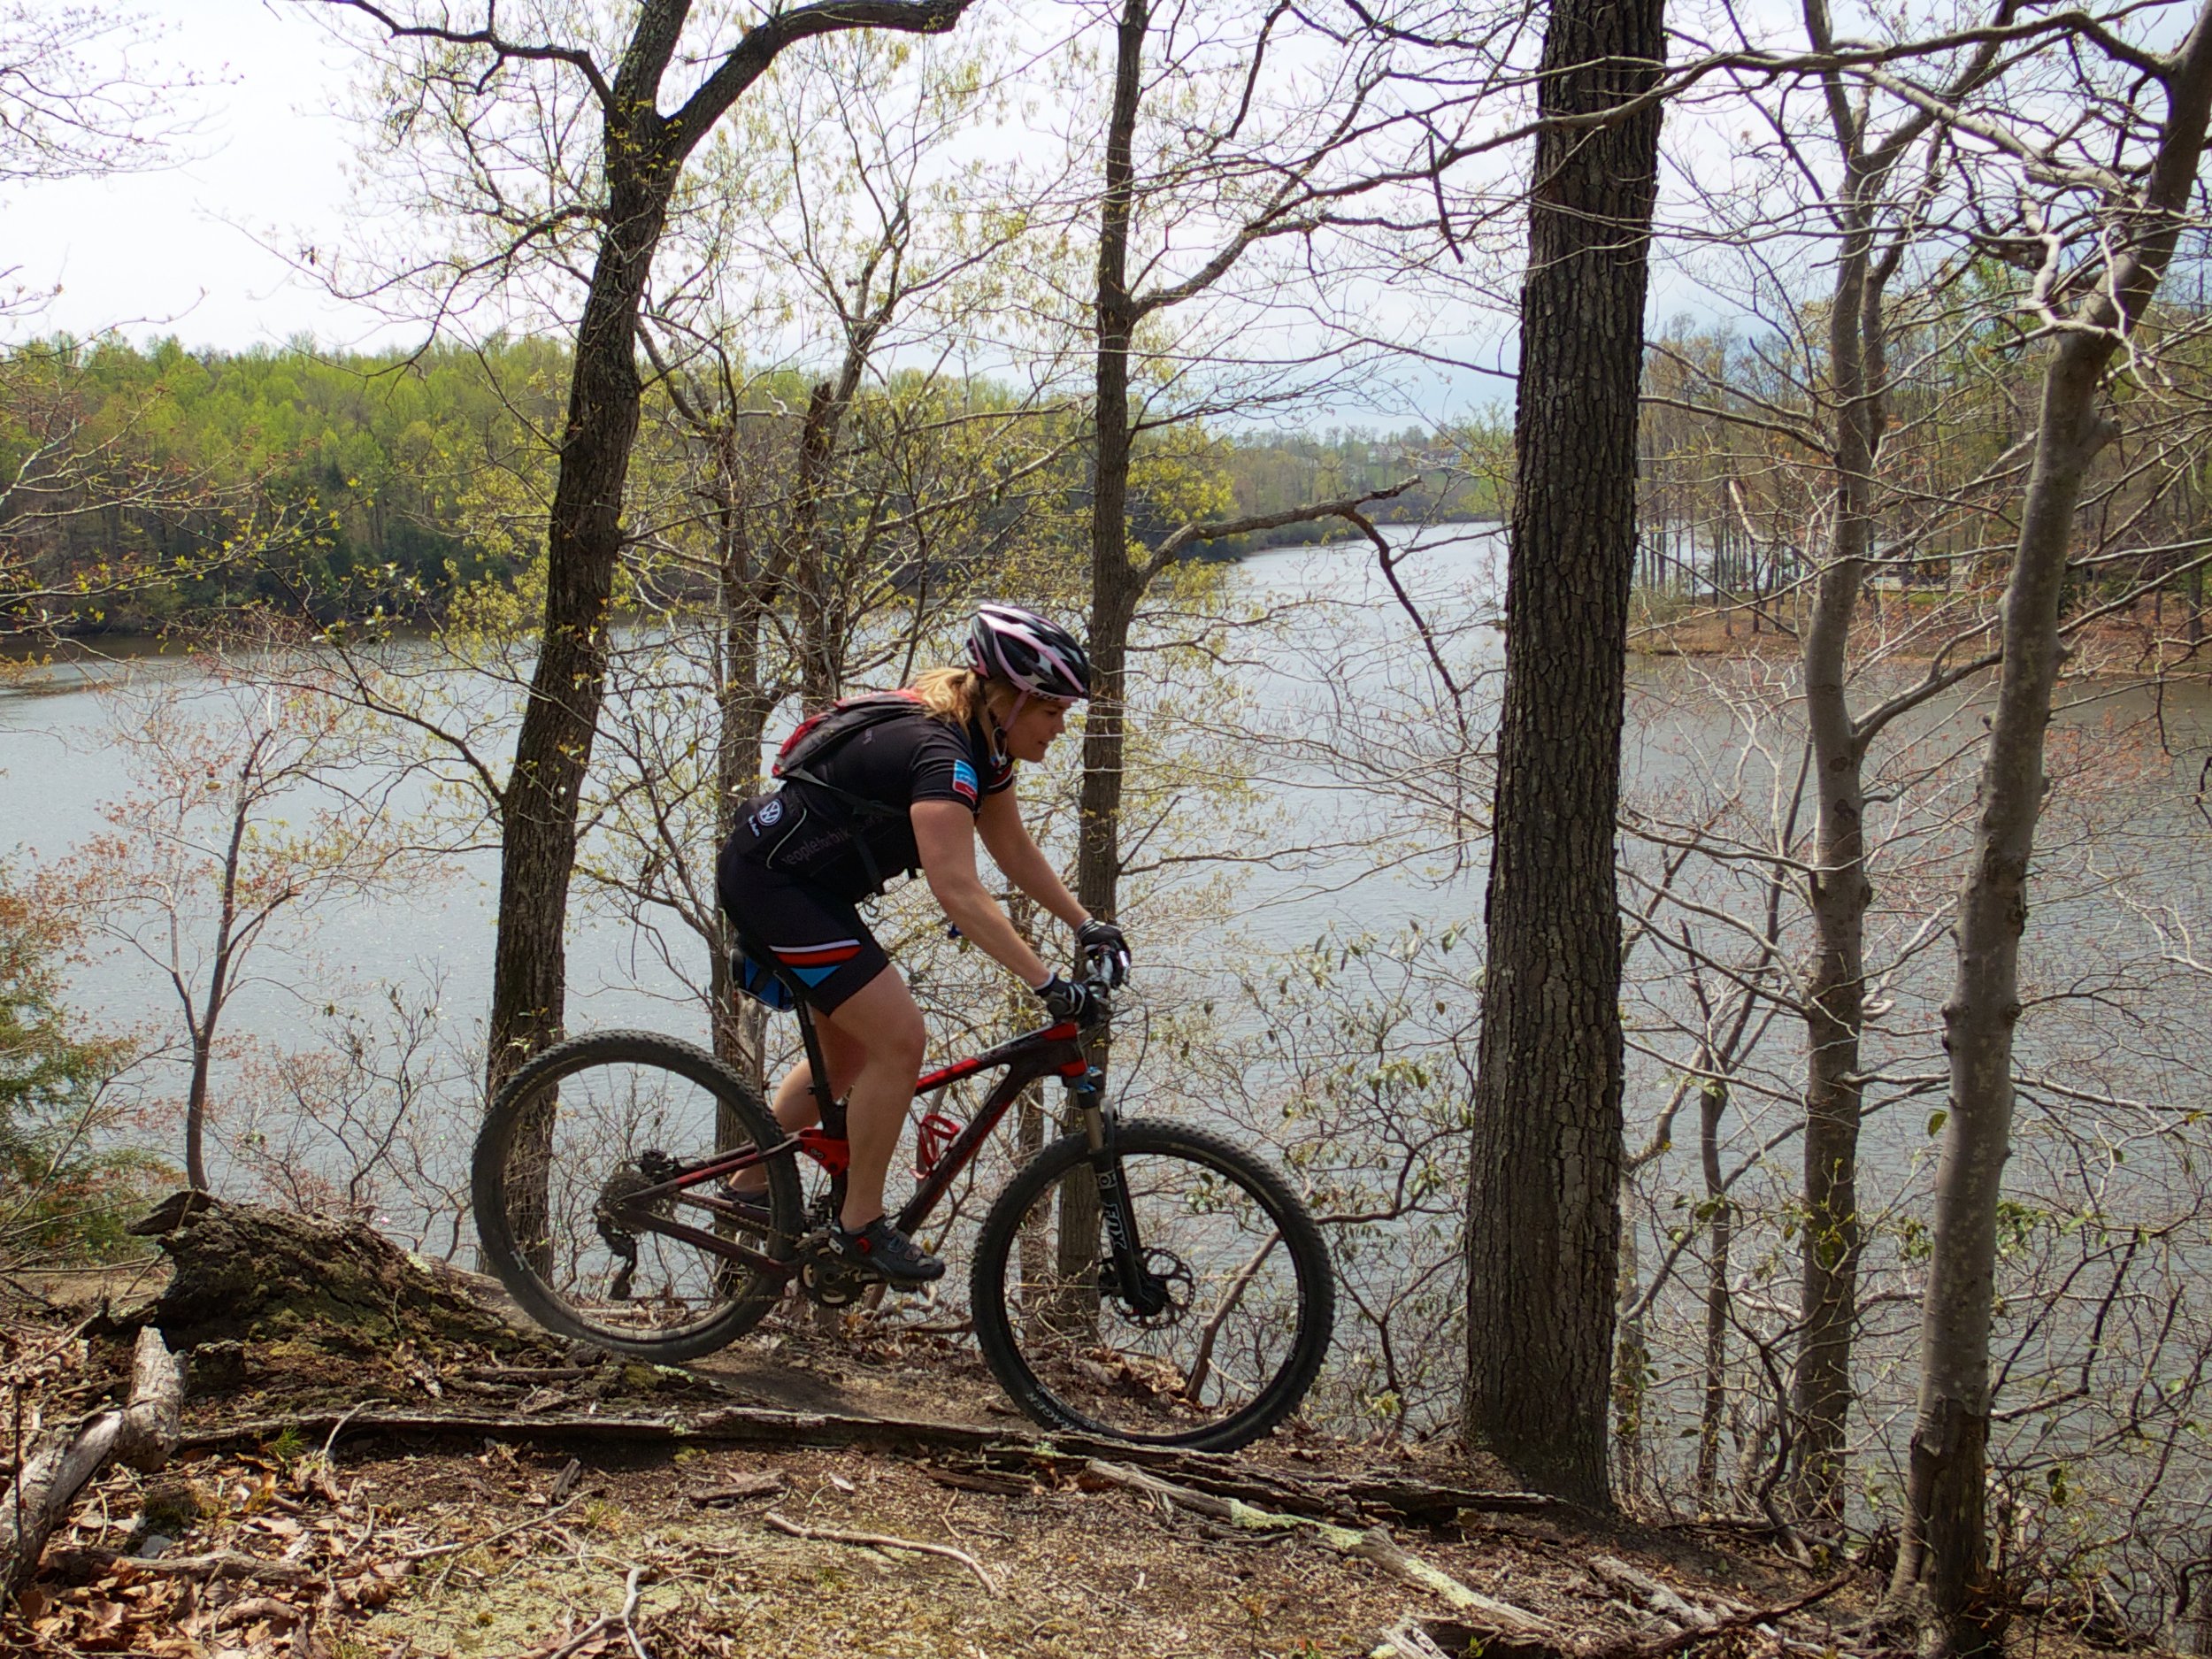
If you can deal with the weight, carry a DSLR with you; There are plenty of great "adventure" packs out there that will allow you to carry your camera and accessories safely, including several with built in hydration systems. I've included links to a couple below along with some other "accessories."Whenever I set out to document a ride for one of my books I take a long my DSLR with a prime lens and a variable focal length lens; I'll also carry a lightweight tripod (my favorite is the Joby Gorillapod) and a flash. In some instances I will also carry a set of remote trigger mechanism - especially if I'm riding alone and need to set up self portraits; The slideshow above has a couple of samples of such instances.The DSLR will offer you the most flexibility and likely the best results; If you do own a DSLR my recommendation is to learn how to master its controls and how to shoot in manual mode. Learn to understand the relationship between Aperture, shutter speed and ISO so that you learn how they affect exposure and depth of field.Finally, shoot, shoot, and shoot again - digital film is cheap, regardless of what you shoot with...
What I use
I shoot mostly with my iPhone because I love to share my images on social media, specifically in the Best Rides DC Facebook page and on the Best Rides DC Instagram feed and because it fits in my pocket. I generally put it in a small dry sack to protect it from moisture (I learned that from my buddy Scott Scudamore). My favorite iPhone apps are Instagram, ShakeItPhoto and Cam Timer, a simple app that allows you to delay the shutter. I'm still looking for a remote trigger for my iPhone, if you have one to recommend please let me know.
I sometimes also take my Canon point and shoot camera along for the ride. I chose the Canon S100 because it's compact and because it has a manual mode, which allows me to control aperture and shutter speed. I pack the camera in a compact Lowepro pouch that has a velcro strap that allows me to attach it to my Osprey Pack, A belt loop, or even my handlebars or stem for quick access while I'm riding.
Whether I take my iPhone or S100 with me I also carry a small Joby tripod with magnetic feet and a tripod attachment for my iPhone. This allows me to set either the iPhone or S100 up for hands free shooting and self portraits. The one thing I regret my S100 not having is a remote trigger, other than that it's a great little shooter.
When I take my DSLR with me I pack it in my Deuter Trans Alpine 25 Hydration pack. This pack has a large bottom compartment where I have placed a "padded cube" that fits my Nikon D2X with a 50mm lens attached to it. In the main compartment I usually throw an extra battery, my Joby Gorillapod, a flash in a padded case and a couple of other misc. accessories, including a couple of Pocketwizards and misc. cables. I don't generally ride with this set-up because it is heavy, and although the pack is comfortable the weight is noticeable and becomes cumbersome after a while. I'm hoping to get my hands on a MindShift rotation 180 pack, but at nearly $400 it'll have to wait. I also recently received a CapturePRO from Peak Design that I've yet to try on a ride. At first glance it looks promising and I can't wait to use it.
Hopefully the tips above make your riding a shooting a little more enjoyable; If you have anything to offer please post it in the comments section below, and see you on the trails - or the road.